
Tip & Trick
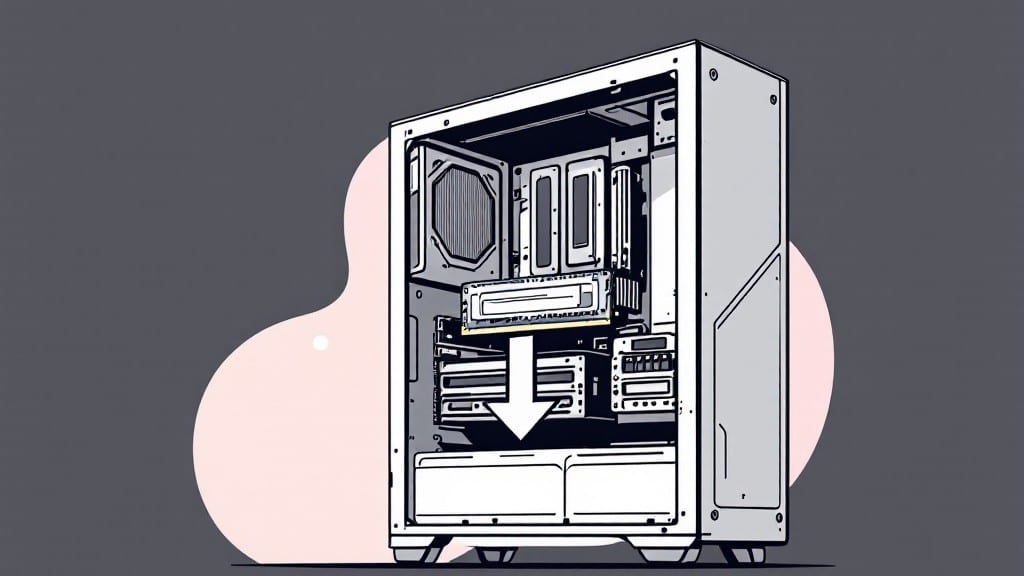
Installing RAM in a desktop PC isn't just about popping in sticks—it's about unlocking extra speed for your system. I remember my first time in my uncle's basement workshop in 1998, where we carefully aligned a 64MB SIMM module into an ancient IBM.
Today's DDR4/DDR5 slots are foolproof once you know the key steps, and I'll walk you through each one so your new memory sticks work perfectly the first time. The biggest mistake beginners make is skipping the motherboard manual, so we'll start there to avoid frustration.
Before touching anything, power down your PC, unplug it, and ground yourself by touching the metal case—static electricity can fry delicate RAM modules. You'll need a Phillips screwdriver (usually included with your case), your new RAM sticks, and patience.
Most modern motherboards have two slots for dual-channel performance, but only one stick per slot until you're ready to upgrade further. The notch on the RAM stick must align perfectly with the slot's key—any misalignment will prevent proper seating, and forcing it can damage both the RAM and socket.
Once installed, boot your system and enter BIOS (usually by pressing Delete or F2 during startup) to confirm Windows recognizes your new RAM. If you see the correct capacity listed, you're golden. My system went from 16GB to 32GB in under five minutes, and the difference in multitasking was immediate.
The only tricky part is ensuring your motherboard supports the RAM's speed—check your manual to avoid running at the slower default speed. For example, my DDR5-6000 sticks ran at DDR5-4800 until I updated the BIOS.
Common pitfalls include mixing RAM types (like DDR4 with DDR5) or using mismatched speeds, which can cause instability. Always install identical sticks in pairs for dual-channel performance, and if your system has four slots, fill them in pairs from the top or bottom.
After installation, run a stress test like MemTest86 to verify stability before heavy use. This process is simpler than it seems, and once you've done it once, future upgrades will take just minutes—no need to fear the tiny screws or delicate components.
📚 In This Guide
- What you need
- Instructions
- Tips and common mistakes
- Wrapping up and next steps
What you need
- ● RAM Module(s): Compatible with your motherboard (check specs for type—e.g., DDR4, DDR5—and capacity—e.g., 8GB, 16GB). Pro tip: Buy a matched kit (same brand/model) for best results!
- ● Screwdriver (Phillips #2): For removing the computer case panel.
- ○ Anti-static wrist strap (optional but recommended): Prevents static discharge that could fry your RAM or motherboard.
- ○ Compressed air (optional): Clears dust from your PC’s interior before installation.
- ● Powered-down PC: Unplug the power cable and press the power button to drain residual energy.
- ● Workspace: A clean, flat surface with good lighting—no carpet (static risk!).
- ● Motherboard manual: Download it from your motherboard manufacturer’s website (e.g., ASUS, MSI, Gigabyte). 💡 Tip: It shows RAM slot layouts and compatibility!
- ● Avoid touching RAM contacts: Use the edges or sides to handle modules.
- ● Ground yourself: Touch a metal part of your case before handling components to discharge static.
Step-by-step instructions for installing RAM in a desktop PC
Here's how to safely add memory without risking damage or compatibility issues.
Power Down and Prepare Your System
Begin by shutting down your computer completely and unplugging the power cable from the wall outlet. I always hold the power button down for 5-10 seconds after unplugging to ensure any residual power drains from the motherboard. This prevents static electricity from damaging sensitive memory modules.
Next, remove the computer case cover by unscrewing the 2-4 thumbscrews along the side panel. Set the cover aside in a safe location. Before handling any components, touch the metal chassis to discharge any static electricity buildup. This simple step protects both you and your new memory modules from potential damage.
Locate and Remove Existing Memory Modules
Open the case and identify the memory slots on your motherboard. These are typically long, narrow slots near the CPU, often labeled DIMM1, DIMM2, or similar. If your system already has memory installed, you'll see 240-pin modules secured by small plastic clips on either end.
To remove existing modules, press firmly outward on both clips simultaneously until they release. The module will pop up slightly—gently lift it straight out of the slot. Place it on a non-static surface like the case foam or anti-static bag. Never force a module out; if it resists, you may have misaligned the clips.
Align and Insert New Memory Modules
Examine your new memory modules—look for the notched corner that must align with a corresponding notch in the memory slot. This prevents improper insertion. For dual-channel configurations, install matching modules in slots A2 and B2 (check your motherboard manual for exact pairing).
Hold the module at a 30-degree angle above the slot, then press down firmly until the clips snap into place. You should hear a distinct click when both clips engage. If you feel resistance, stop immediately and recheck the alignment—never force the module. The clips should secure the module tightly without gaps.
Verify Installation and Reassemble
Close the case and reconnect the power cable. Power on your system and enter BIOS (usually by pressing Delete, F2, or F12 during boot). Check that the new memory is detected under the Memory or System Information section. The BIOS should display the correct capacity (e.g., 16GB total) and speed (e.g., 3200MHz).
If the system doesn't recognize the new memory, reseat the modules firmly and ensure they're fully clicked into place. For stubborn cases, try one module at a time to isolate potential issues. Once verified, save any BIOS changes and exit. Your system is now ready to use the additional memory capacity.
Tips & tricks for stress-free RAM installation
Even the simplest hardware upgrade can feel intimidating—here's how to avoid common pitfalls and make this process smoother than you'd expect.
Static Protection is Non-Negotiable: I learned this the hard way after accidentally frying a $120 RAM module during my first upgrade. Always touch the metal chassis before handling components, and consider using an anti-static wrist strap if you're working in dry conditions. The few seconds it takes could save you from expensive mistakes. The metal frame of your computer case works perfectly for grounding.
Visual Alignment is Everything: That notched corner on your RAM modules isn't just there for decoration—it's the only thing preventing a $100+ disaster. Take your time aligning the notch with the slot's corresponding mark. If you feel any resistance when inserting at the 30-degree angle, stop immediately and recheck. The modules should drop in smoothly once properly aligned, with both clips snapping into place with an audible click.
Dual-Channel Pairing Matters: If you're installing two matching modules for dual-channel performance, always place them in slots A2 and B2 (or the corresponding pair for your motherboard). Mixing and matching slots can actually reduce performance or cause system instability. Your motherboard manual will show the exact pairing diagram—this is one case where following the manual is absolutely critical.
BIOS Verification is Your Safety Net: Don't skip the BIOS check after installation, even if your system seems to boot normally. Many motherboards won't show memory errors until you're actually running memory-intensive applications. If your system doesn't recognize the new RAM, reseat the modules one at a time—often the issue is simply that they weren't fully clicked into place. I've seen this happen even after thinking the installation was perfect.
Pro Tips for Install Ram In A Desktop Pc
- Even the simplest hardware upgrade can feel intimidating—here's how to avoid common pitfalls and make this process smoother than you'd expect.
- Static Protection is Non-Negotiable: I learned this the hard way after accidentally frying a $120 RAM module during my first upgrade.
- Visual Alignment is Everything: That notched corner on your RAM modules isn't just there for decoration—it's the only thing preventing a $100+ disaster.
Frequently asked questions
Got questions? You’re not alone—installing RAM can feel tricky at first! Here are answers to the most common concerns to help you feel confident before diving in.
Do I need to turn off my PC to install RAM?
Always power down your PC, unplug it, and press the power button to discharge any residual electricity. Safety first—no one wants a static shock or fried components! Ground yourself by touching a metal part of your case before handling RAM.
Can I mix different RAM brands or speeds?
You can, but it’s not ideal. Mixing brands (e.g., Kingston + Corsair) usually works fine, but mixing speeds (e.g., 3200MHz + 2666MHz) forces your PC to run at the slower speed. For best performance, stick to the same brand, speed, and type (DDR4/DDR5) if upgrading. Check your motherboard manual for supported kits!
How do I know if my RAM slots are working correctly?
After installation, boot up and enter your BIOS (usually by pressing Del, F2, or Esc during startup). Look for RAM detection—it should match your installed capacity (e.g., 16GB total). If not, reseat the RAM or check for bent pins. Windows’ Task Manager > Performance tab also shows real-time usage.
What if my RAM isn’t seating properly?
If the RAM doesn’t click into place or feels loose, stop forcing it! First, ensure the clips on the sides are open. Gently press down evenly on both edges until you hear a satisfying click. If pins are bent, use a pencil eraser (gently!) to straighten them. Never use excessive force—RAM slots are delicate!
Do I need special tools to install RAM?
Nope! All you need is your hands (clean, please!) and a Phillips-head screwdriver if your case requires removing panels. Avoid anti-static tools unless you’re working in a dusty environment—just handle RAM by the edges to prevent oils from your skin interfering with contacts.
| Pro Tip | Why It Matters |
|---|---|
| Label your RAM sticks before removing them (e.g., "Slot 1" and "Slot 3"). | Makes reinstallation a breeze if you ever swap components later! |
| Check your motherboard manual for RAM slot color-coding. | Some boards pair slots (e.g., blue + black) for dual-channel performance. |
Wrapping up and next steps
Installing RAM in your desktop PC is easier than you think—just take it step by step! 💡 You now know how to check compatibility, prepare your workspace, and secure the modules safely. With patience and a little practice, you’ll feel like a pro in no time.
Ready to level up your PC’s performance? Next, test your new RAM with a stress test or dive into optimizing your system settings. Happy building! 🚀