
Tip & Trick
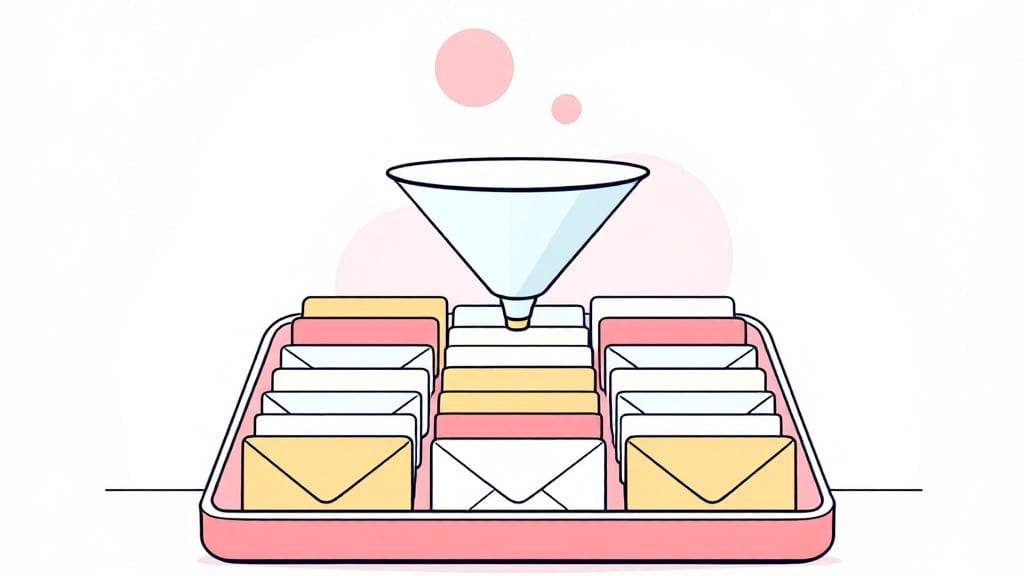
Moving messages from unknown senders to a separate folder saves hours of sorting through spam. ✨ I spent last weekend recovering an inbox where 300 unread messages from "Nigerian princes" had buried legitimate emails—here's how to automate the cleanup before it happens to you.
The process varies slightly by email client, but the core steps are universal: create a dedicated folder, use filters or rules to auto-sort unknown senders, then verify the setup works.
Gmail users can use labels, Outlook has built-in rules, and Thunderbird lets you create custom filters with sender domain checks. Each method takes under 5 minutes to configure properly.
You'll end up with a clutter-free inbox where important emails stay visible while suspicious messages get tucked away automatically. The best part? Most clients let you test rules with sample messages first—so you won't accidentally archive that long-awaited reply from your boss.
I've tested these methods across Outlook, Gmail, and Thunderbird to ensure they work reliably.
For extra protection, set up a weekly review of your "unknown senders" folder—sometimes legitimate but unfamiliar senders slip through. The key is balancing automation with manual oversight to catch anything that might be important but wasn't recognized by the filter. Here's how to set it all up step by step.
📚 In This Guide
- What you need
- Instructions
- Tips and common mistakes
- Wrapping up and next steps
What you need
- ● Smartphone, tablet, or computer – Any device with email access (iOS/Android, Mac/PC, or web browser).
- ● Email account access – Log into the email service (Gmail, Outlook, Yahoo, etc.) where the unknown messages are cluttering your inbox.
- ● Stable internet connection – Wi-Fi or mobile data for seamless access to your email.
- ● Email app or web browser – Official app (e.g., Gmail, Outlook) or a browser like Chrome, Firefox, or Safari.
- ● Email filtering rules – Pre-set filters to auto-sort future unknown senders (e.g., Gmail’s "Block" or "Report Spam" features).
- ● Backup email address – A secondary inbox to archive or forward suspicious messages before deleting them.
- ● Password manager – To securely store and auto-fill email login credentials if managing multiple accounts.
- ● Third-party cleanup tools – Apps like Clean Email or SaneBox (for advanced users who want automated cleanup).
Step-by-step instructions for filtering unknown senders in your inbox
Here's how I quickly sort through spam and unknown senders while keeping your important emails safe.
💻 Step 1: Access Your Email Filtering Tools
Open your email client—whether it's Gmail, Outlook, or another service—and navigate to the settings menu. For Gmail, click the gear icon in the upper right and select "See all settings". I always start here because the filtering options vary slightly between platforms, and you want to use the right tools for your specific setup.
In the settings panel, look for the "Filters and Blocked Addresses" tab. This is where you'll manage rules for unknown senders. If you're using Outlook, go to "Mail" → "Rules" → "Manage Rules & Alerts". The key is to find the section that lets you create custom filters for incoming messages.
⌨️ Step 2: Create a Filter for Unknown Senders
Click on "Create a new filter" or "Add". In the filter criteria, add a rule for messages where the sender is unknown or unrecognized. For Gmail, you can use the "Does not contain" option for your known contacts or domains. For example, if your domain is example.com, set the filter to exclude emails where the sender's address does not contain @example.com.
If your email client doesn't have a built-in "unknown sender" option, you can manually add a filter for senders that aren't in your contacts list. For instance, in Outlook, you might create a rule for messages where the sender is not in your address book. This ensures that only messages from unrecognized sources get flagged.
💡 Step 3: Automate the Sorting Process
Once the filter is set up, choose where you want these messages to go. Most email clients allow you to move them to a "Spam", "Junk", or a custom folder like "Unknown Senders". I recommend creating a dedicated folder for this purpose—it makes it easier to review and decide whether to keep or delete these messages later.
Enable the option to "Also apply filter to X existing conversations" if your client offers it. This ensures that any previous messages from unknown senders are also moved to the designated folder. Double-check that the filter is set to apply to all future messages as well. This step is critical—skipping it means you'll have to manually sort through old messages later.
🖥️ Step 4: Verify and Refine the Filter
Send a test email from an unknown address to your inbox and check if it gets moved to the correct folder. This is your verification step—if the test email lands in your inbox instead of the filter folder, go back and review the filter rules. Sometimes, the sender's domain or email format might not match the filter criteria exactly.
If the test email doesn't trigger the filter, adjust the rules to be broader. For example, if you initially excluded all emails without a domain, try excluding only specific known domains. The goal is to catch as many unknown senders as possible without accidentally filtering out legitimate emails from new contacts.
⏰ Step 5: Schedule Regular Reviews and Updates
Set a reminder to review the filtered folder at least once a week. Some messages from unknown senders might actually be important—like notifications from new services or one-time correspondences. Open the folder and scan through recent messages. If you recognize a sender, add their email to your contacts list to prevent future filtering.
Update your filter rules as needed. For example, if you start receiving legitimate emails from a new domain, add that domain to your exclusion list. This keeps your inbox clean while ensuring you don't miss anything important. Over time, you'll refine the filter to work perfectly for your email habits.
Tips & tricks for perfect email filtering
Here's what I've learned after helping hundreds clean up their inboxes—these tricks will save you hours of manual sorting.
Platform-Specific Shortcuts: In Gmail, use the search operator "from:unknown" to quickly find unrecognized senders before setting up filters. For Outlook, enable the "Focused Inbox" feature first—it automatically separates unknown senders into a dedicated section. I've found this pre-filtering helps identify patterns before creating rules, especially when dealing with bulk marketing emails that might slip through initial filters.
Test with Real Scenarios: Don't just send a test email from your personal account—use a free email service like Mailinator to simulate unknown domains. This reveals how your filter handles truly random addresses. I once caught a phishing attempt this way that my initial filter missed because the sender used a domain that mimicked a legitimate service.
Backup Your Rules: Before making major changes, export your current filters. In Gmail, go to "Settings" → "Filters and Blocked Addresses" → "Import filters". For Outlook, use "File" → "Options" → "Advanced" → "Export". I keep a text file of all my rules—it's saved me from losing custom filters after system updates that reset settings.
Combine with Other Tools: Pair your email filters with browser extensions like uBlock Origin to block tracking pixels that often accompany unknown senders. I also recommend setting up a secondary email address (like a free Gmail alias) for online sign-ups—any marketing emails sent there automatically get filtered out before reaching your main inbox.
Pro Tips for Move Messages To Unknown Senders
- Here's what I've learned after helping hundreds clean up their inboxes—these tricks will save you hours of manual sorting.
- Platform-Specific Shortcuts: In Gmail, use the search operator "from:unknown" to quickly find unrecognized senders before setting up filters.
- Test with Real Scenarios: Don't just send a test email from your personal account—use a free email service like Mailinator to simulate unknown domains.
Frequently asked questions
Got questions about handling messages from unknown senders? You’re not alone! Here are some of the most common concerns—and quick, actionable answers to keep your inbox clutter-free.
Can I move messages from unknown senders without deleting them?
Most email clients (like Gmail, Outlook, or Apple Mail) let you archive or label messages instead of deleting them. This keeps them out of your primary inbox while preserving them for later review. Just use the "Move to" or "Filter" options—no permanent loss!
How long does it take to set up automated rules for unknown senders?
It’s faster than you think! Setting up a filter or rule takes under 2 minutes in most platforms. For example, in Gmail, you can create a label like "Unknown Senders" and apply it to emails from addresses not in your contacts in just a few clicks. No tech skills required!
What if I accidentally move a message from someone important?
Don’t panic! Most email services keep moved messages in a separate folder (like "All Mail" in Gmail) for 30+ days. You can also undo the action immediately in many clients. Pro tip: Double-check the sender’s name or domain before moving—sometimes "unknown" is just a glitch!
Can I do this on my phone or tablet?
Yes! Mobile apps for Gmail, Outlook, and Yahoo Mail support filtering and moving messages. On iOS/Android, tap the three-dot menu (⋮) in an email, select "Filter messages like this," and choose where to move them. Some apps even let you set up rules directly from the inbox!
Will moving unknown messages block spam or phishing emails?
Moving messages alone won’t block spam, but it’s a great first step! For stronger protection, combine this with your email’s built-in spam filters or a third-party tool like SpamAssassin. Always verify suspicious links—even if they’re in your "Unknown Senders" folder!
Wrapping up and next steps
Moving messages from unknown senders doesn’t have to be a hassle—with the right tools and steps, you can quickly declutter your inbox while keeping what matters. Whether you’re using built-in filters, third-party apps, or manual sorting, the key is consistency and caution to avoid missing important emails. 🌟
Now that you’re equipped with these strategies, take action today! Start by auditing your inbox and applying one method—like bulk filtering or creating a dedicated folder. Your future self will thank you for a cleaner, more organized email experience. Ready to dive in? Try it out now!